How to install an eSIM on iPhone: step-by-step guide and common errors
Three ways to install an eSIM on iPhone: one-tap button, QR code and manual entry. How to set up your lines and data roaming, and what to do if you see “This code is no longer valid”.
Installing an eSIM on iPhone takes a couple of minutes. One rule matters most: the installation code works only once. If the installation is interrupted or you delete the eSIM, the same code won't bring it back. Here's everything in order: what to check first, three ways to install, setting up your lines, what to do when you land and how to fix common errors.
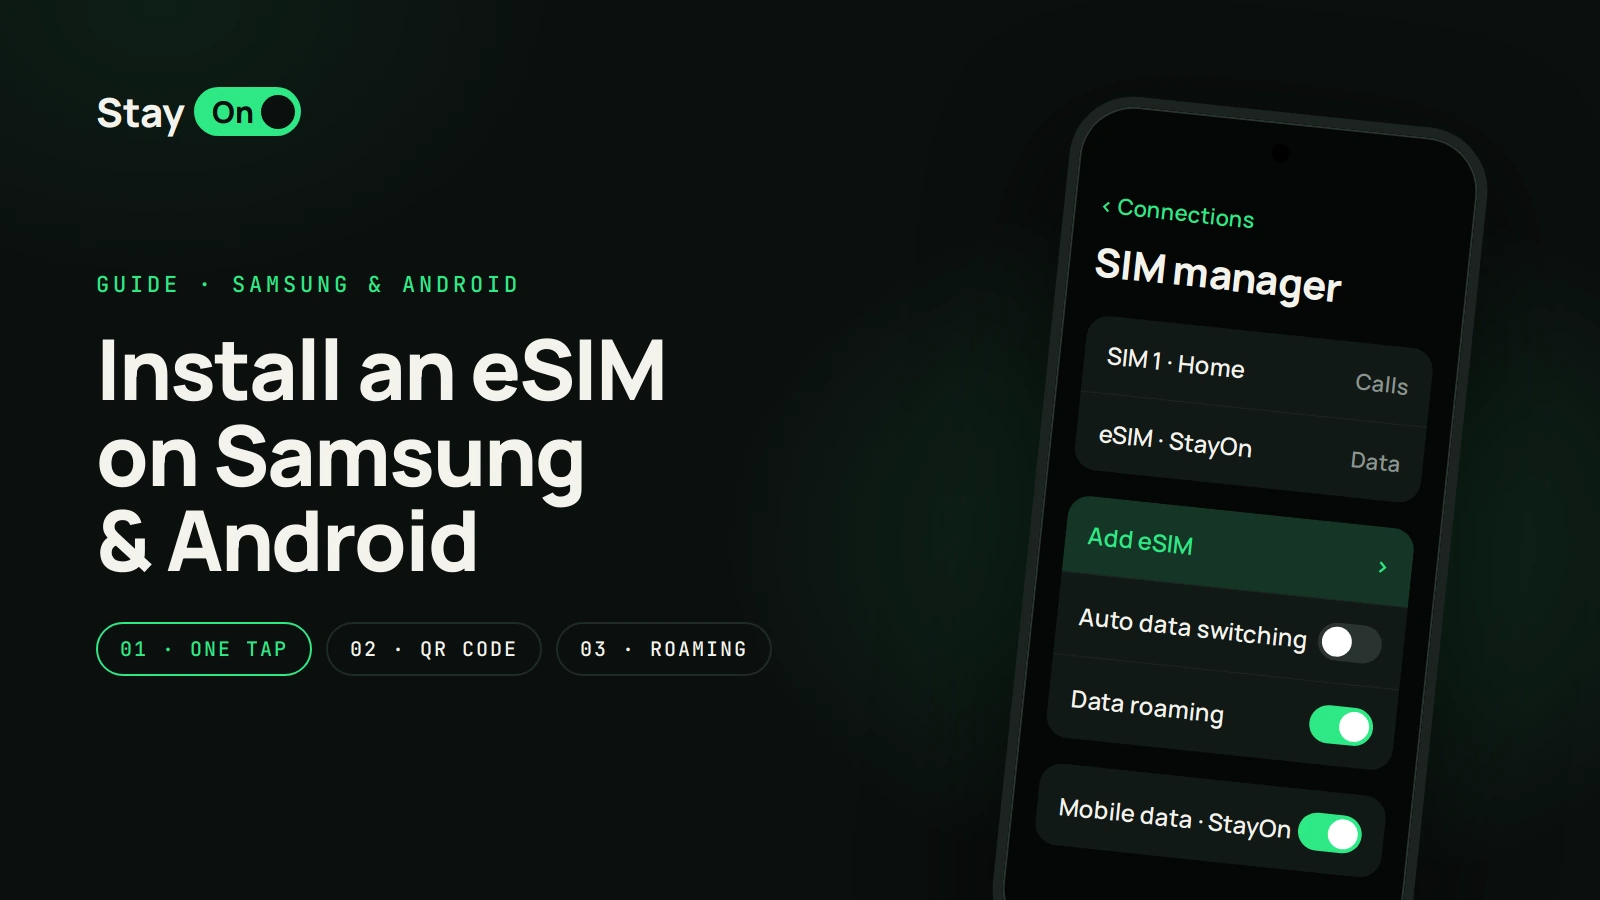
Samsung and other Android phones: there's a separate guide.
Before you start: a quick checklist
- Your iPhone supports eSIM. That's every model from iPhone XR and XS onwards, except those bought in mainland China. A ten-second check: Settings → Cellular, look for “Add eSIM”. More in “Does my phone support eSIM” and on the compatible devices page.
- Your iPhone is unlocked. Settings → General → About → “Carrier Lock”. It should say “No SIM restrictions”. A carrier-locked iPhone won't accept an eSIM from another provider.
- You're on Wi-Fi. The eSIM downloads over the internet, so you don't need a mobile signal for this. Home Wi-Fi is enough.
- Your eSIM email is at hand. It has the “Install on iPhone” button, the QR code and the details for manual entry. All of it is also on your order page: in your account, open the eSIM and tap “Install details”.
- Install it in advance, at home. The plan's validity starts on the first connection to a network in your destination, not at installation, so you can install the eSIM a few days before you fly. Install it before the date shown in your account (“Install by …”).
Option 1. The “Install on iPhone” button
The easiest way. It works on iOS 17.4 and later and needs no second screen.
- Open the eSIM email on the iPhone you're installing it on. Or open the order in the StayOn app: Account → your eSIM → “Install details”.
- Tap “Install on iPhone”. The iOS eSIM setup window opens.
- Tap “Continue” and wait for installation to finish. Don't close the window until it's done.
If the button doesn't open anything, update iOS or install the eSIM with the QR code.
Option 2. QR code
You need a second screen: a computer, tablet or another phone. An iPhone camera can't scan the iPhone's own screen.
- Open the eSIM email or your order page on the second screen.
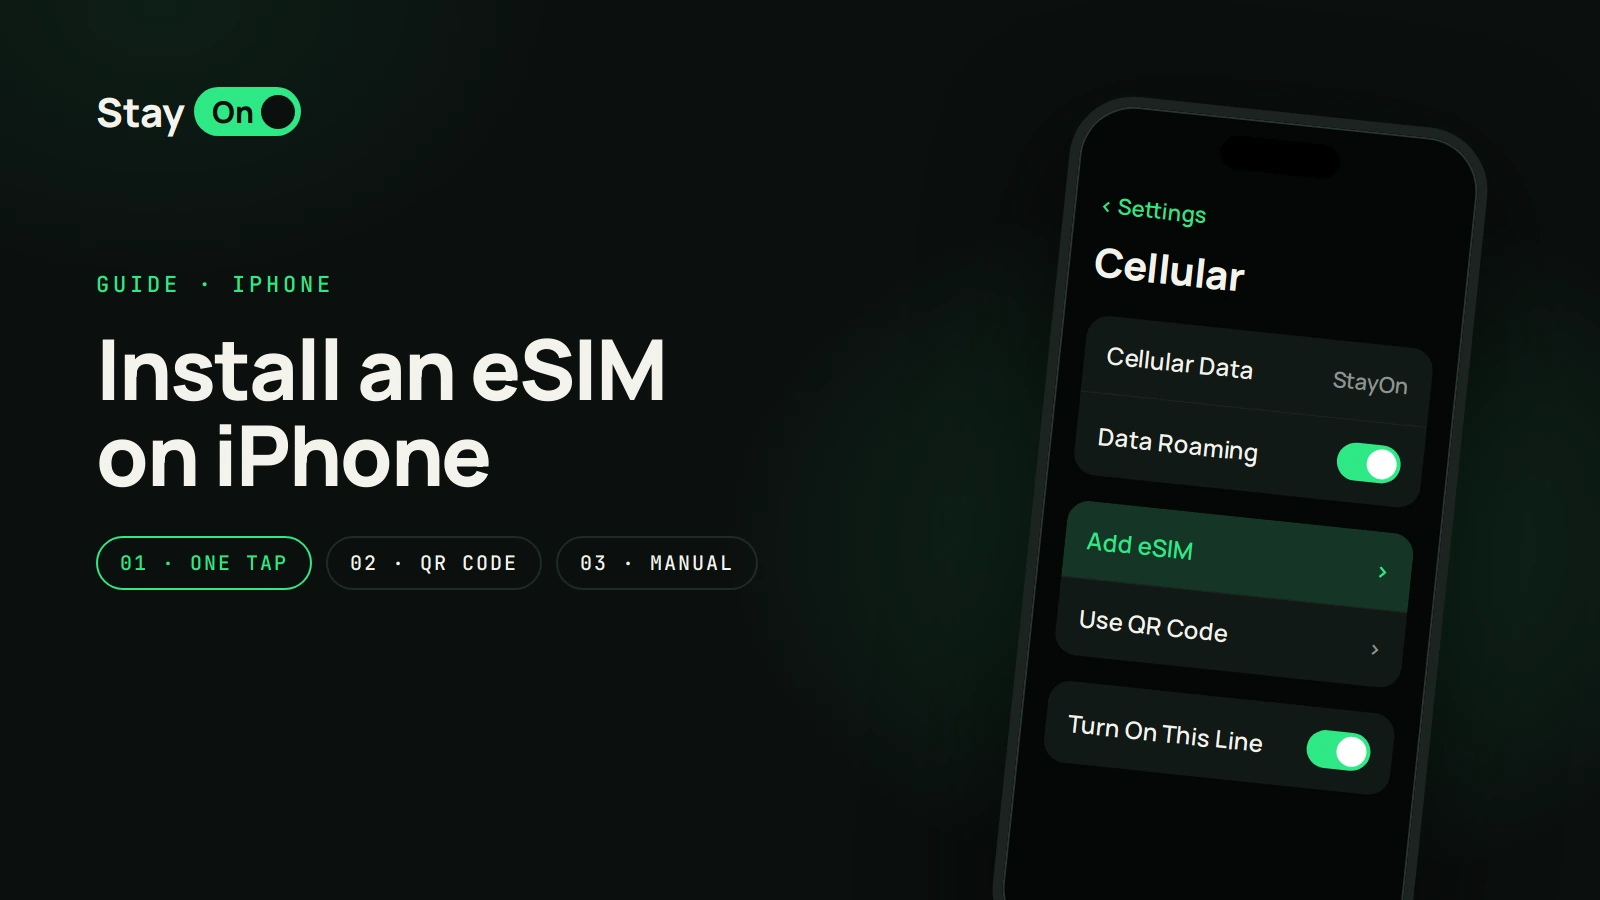
- On the iPhone go to Settings → Cellular → Add eSIM. In some regions the section is called Mobile Service or Mobile Data.
- Choose “Use QR Code” and point the camera at the QR code.
- Tap “Continue” and wait for installation to finish. It can take a couple of minutes.
Option 3. Enter the details manually
Use this if the QR code won't scan and you have no second screen.
- Copy the SM-DP+ address and the activation code from the email. On the order page there are “Copy” buttons next to them.
- On the iPhone go to Settings → Cellular → Add eSIM → Use QR Code → Enter Details Manually.
- Paste the SM-DP+ address and the activation code with no spaces at the start or end. Leave “Confirmation Code” empty: StayOn eSIMs don't need one.
- Tap “Next” and wait for installation to finish.
Setting up after installation
Right after installation your iPhone asks a few questions. Sensible answers:
- Line label. Pick a ready-made label or type your own, for example “StayOn”. That's what the line is called in the rest of this guide.
- Default line. Keep calls, texts and iMessage on your usual SIM.
- Cellular data. Choose the StayOn line.
- Cellular data switching. Turn it off: Settings → Cellular → Cellular Data → “Allow Cellular Data Switching”. Otherwise your iPhone may switch back to your home SIM and your carrier may charge you for roaming.
You can change all of this later in Settings → Cellular.
How many eSIMs fit. An iPhone stores eight eSIMs or more, and two lines can be active at once. Data goes through only one of them, the one selected under “Cellular Data”.
When you land
- Turn off Airplane Mode.
- Open Settings → Cellular → StayOn and turn on “Turn On This Line” and “Data Roaming”.
- Check that StayOn is selected under “Cellular Data”. It's best to turn data roaming off on your home SIM.
- Give the iPhone one to three minutes to find a network. No internet? Toggle Airplane Mode on and off or restart the phone.
Data roaming must be on for the StayOn line: for a travel eSIM the local network is technically a foreign one. Your carrier won't charge you for it, the data comes from your StayOn plan.
If your plan also covers the country you live in (a Europe-wide plan, for example), turn the StayOn line on only when you travel. Otherwise it connects at home and the plan's validity starts early.
Common iPhone errors
“eSIM Cannot Be Added. This code is no longer valid”
The code has already been used. Most often the eSIM actually installed on the first try: check Settings → Cellular for a new line. If there isn't one, the installation was interrupted or the eSIM was deleted. The same code can't restore it, so message us your order number and we'll sort it out.
“Cellular plans from this carrier cannot be added”
Your iPhone is carrier-locked. Check “Carrier Lock” (see the checklist). Only your carrier can unlock it.
Stuck on “Activating…”
Check your Wi-Fi and wait a few minutes. Don't delete the eSIM and don't scan the code again. If nothing changes after 10 minutes, restart the iPhone and send us a screenshot.
The “Install on iPhone” button doesn't open anything
The button works on iOS 17.4 and later. Update iOS or install the eSIM with the QR code or manually.
The eSIM is installed but there's no internet
It's almost always one of three things: the wrong line is selected under “Cellular Data”, data roaming is off on the StayOn line, or you're not in the plan's country yet (the eSIM only connects where the plan works). Airplane Mode for ten seconds often helps. You usually don't need to set up an APN by hand. The full checklist is in “eSIM not connecting”.
There are two StayOn lines on my phone
This happens if you've bought an eSIM before. Turn on and select for data the line from your current order; you can turn the old one off. Only delete it if you're sure its plan has ended.
I deleted the eSIM
A deleted eSIM can't be reinstalled with the same code. Send us your order number and we'll see what we can do.
FAQ
Do I need to turn on data roaming?
Yes, data roaming must be on for the StayOn line. Your carrier won't charge you for it: the data comes from your StayOn plan. It's best to turn data roaming off on your home SIM.
Will I keep my number?
Yes. Your usual SIM stays in the iPhone, calls and texts reach it as normal, and data goes through StayOn.
Can I install the eSIM without a second device?
Yes: with the “Install on iPhone” button (iOS 17.4 and later) or by entering the SM-DP+ address and activation code manually.
When does the plan start?
On the first connection to a network in your destination, not at purchase and not at installation. So it's safe to install the eSIM at home in advance.
Can I move the eSIM to another iPhone?
No, an eSIM is tied to one phone. If you've changed phones before your trip, message us before installing.
What if nothing helped?
Contact support or email hello@getstayon.com with your order number and a screenshot of the error. If the eSIM never works, we'll refund you.
Key points
- Install the eSIM in advance, on Wi-Fi, and switch it on when you land.
- The code works once: don't interrupt installation and don't delete the eSIM.
- Choose StayOn for cellular data and turn on data roaming for that line.
- If something goes wrong, don't keep retrying. Send us a screenshot.
Popular destinations with StayOn: Turkey, Georgia, UAE, Cyprus. All installation guides are on the “How to install an eSIM” page.